


i'm a bit of a
hair dye novice but i thought i'd share this review because i think reading about other people using home dye kits
makes the task of doing your own a lot less daunting!
let me first explain my hair story to you... my hair is naturally dark blonde. when i was younger i worked as a junior in a hairdresser. of course the free cuts and colour were too good to miss so i started off with just lightening my t-section, eventually ending up with a full head of highlights, most of which were bleach. after i left the hairdresser i had to start paying full price for a whole head of highlights and pretty often too - my hair grows quickly and i can't pull off the shabby chic 'un-done roots' look!
after much umming and erring i decided to go darker. i fancied a change but also brown hair generally is a lot easier to keep up with because usually it is done with an all over tint that you can also do at home with a box of hair dye that costs £6 (as opposed to my usual £90... arghhh!!) going from blonde to brown is always a job for the professionals as it involves a pre-colour. but this is my second attempt at doing my roots and giving the colour a bit of a boost and so far so good!
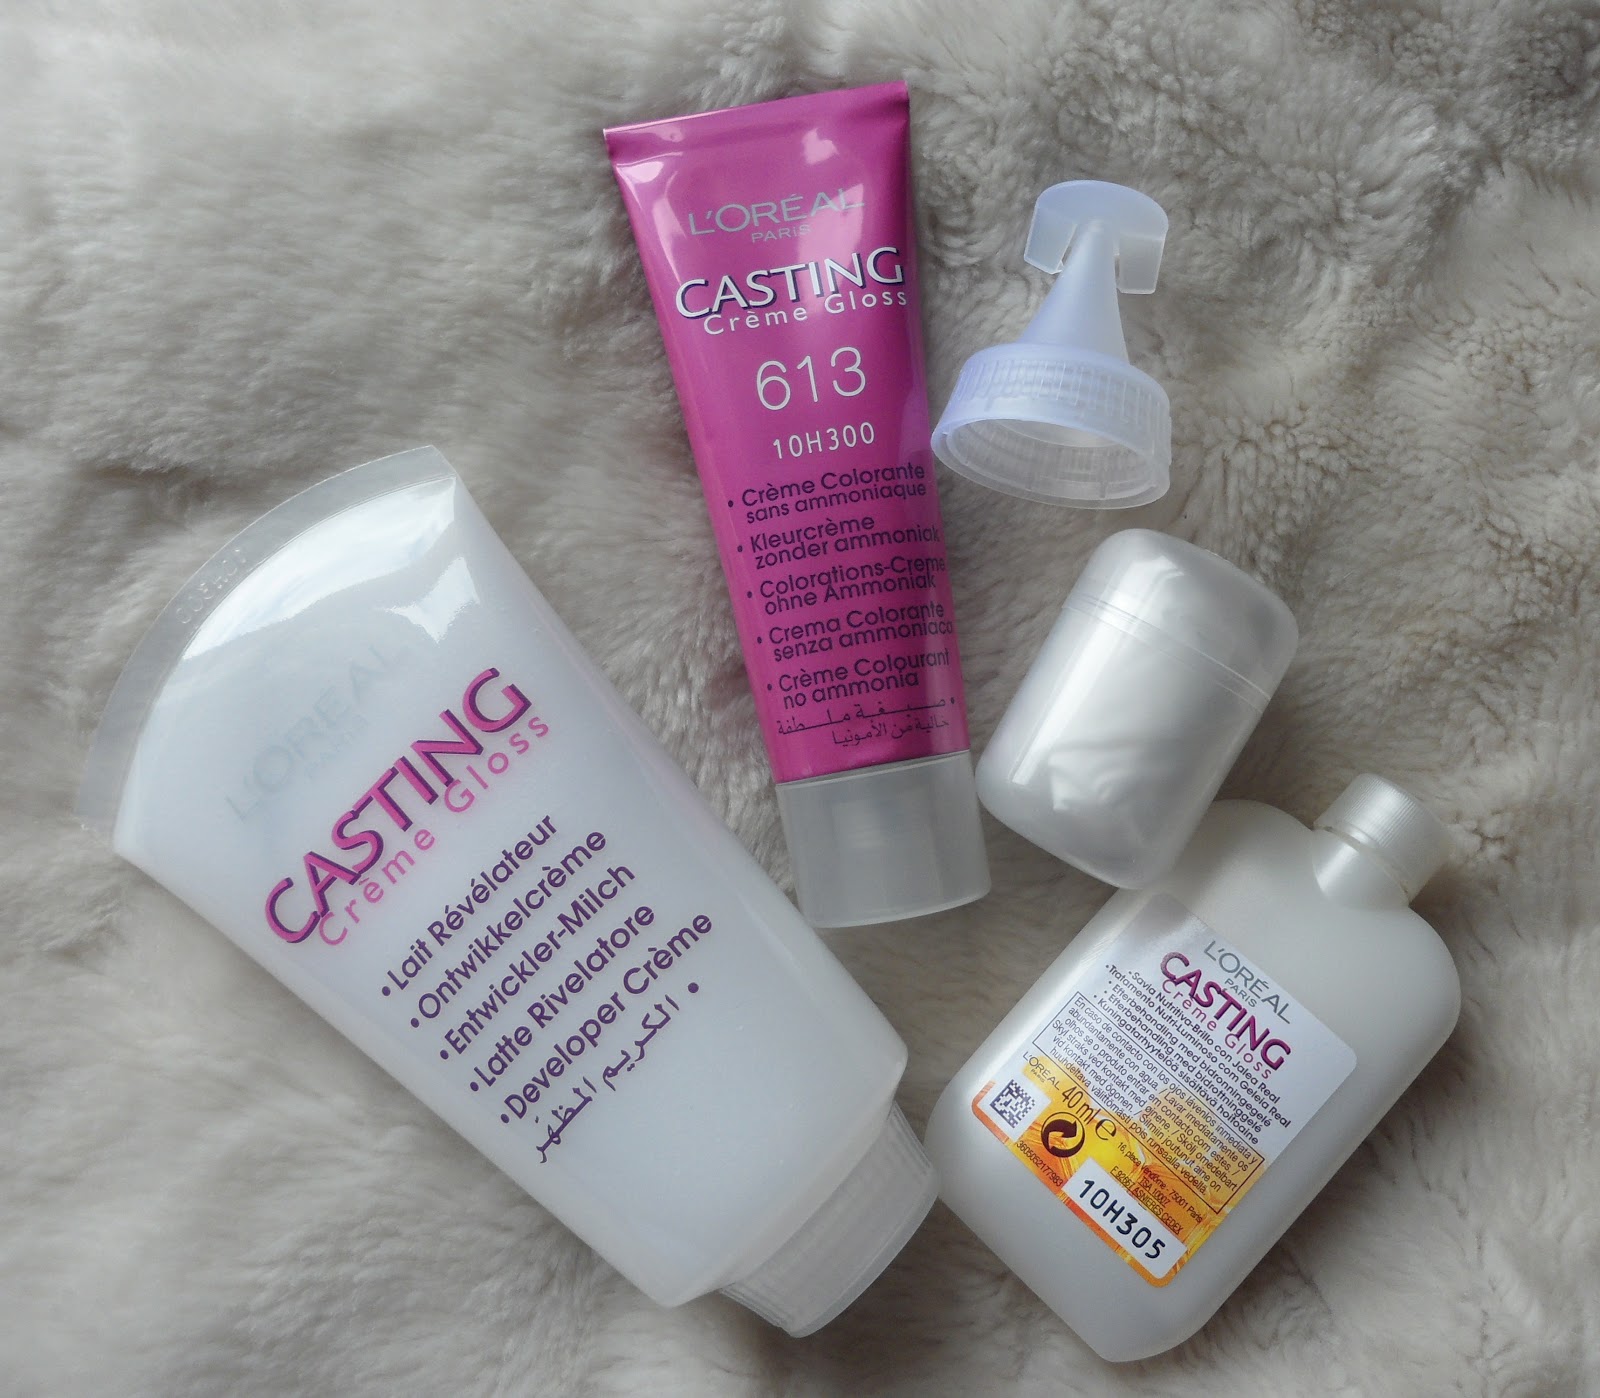
i have to say, hair colour names are AWFUL. 'iced mocha'. really?? but other than that this was really easy to use and came with a long list of instructions and even a handy push-out section on the box to hold the hair dye in place when you aren't using it. i like the final colour and it's looking a lot healthier than the 'washed out' look i was apparently going for before!
so, to beginners from a beginner, here are my hair dye do's and dont's:
- don't be afraid to hover around the hair dye section for a good half an hour holding the box up to your hair and seeing if it matches. it's never going to be completely accurate but it's going to give you a good idea of what you're likely to come out with.
- don't take your boyfriend with you to find the perfect colour. he won't appreciate it, trust me!
- don't dye your hair just before a big night out. nothing to do with preparing for the worst (it'll be fine, honest!) it's just that hair dye really, really stinks and it takes a couple of washes to get rid of the chemically smell.
- do use a semi-permanent colour if you're worried about not liking the outcome. it will fade but remember that re-doing the colour will only cost about £6, which is a lot cheaper than professional colour correction for a permanent colour you hate.
- do give yourself time to read the instructions and set up the bathroom ready to dye your hair. it can get messy, even with gloves on, and it may involve a bit of a bathroom clean up whilst you're waiting for the colour to develop!
- do a strand test. this involves cutting out a small piece of hair from the root (if this is done from an underneath layer of hair as opposed to the visible parting it won't be at all noticable) and testing the hair dye on it first to see how your hair reacts. the first hair dye i bought told me to leave the dye on for 20 minutes. i washed the hair dye off my strand test after 5 and it was the colour i wanted. i think if i'd have left it on the full 20 minutes my hair would've been black!
- do take a watch into the bathroom with you and keep an eye on it. now is not the time to find out whether you can guess the length of a minute.
- and finally, do note down the brand and name of the hair dye you used in case you want to use it again. surprisingly, after 6-8 weeks even the name 'iced mocha' doesn't stand out as much as you originally thought it might.
...i hope this helps and let me know if you have any other hair dye tips or tricks! :)
No comments:
Post a Comment